On this page11 sections
- 01How Big Does a QR Code on a Shirt Need to Be?
- 02Where the Fabric Moves Is Where It Fails
- 03Dark Shirts Are the Second Trap
- 04What to Encode, and Why Shorter Wins Twice
- 05The Shirt Outlives the Campaign
- 06What We Have Not Tested
- 07Printing Methods, Briefly
- 08Sending the File to a Print Service
- 09Test One Shirt Before You Order Fifty
- 10Six Ideas Worth Stealing
- 11Common Questions
How Big Does a QR Code on a Shirt Need to Be?
A shirt is the only thing you print a QR code on that walks away from the scanner. Paper gets picked up. A garment stays about a metre from whoever is reading it, and that distance is what sets the size, because the number of camera pixels landing on each module halves every time the distance doubles.
The rule of thumb is a code about a tenth as wide as the reading distance. Three distances matter for clothing, and only one of them is the one tutorials test.
- Phone held at the fabric25mm codeThe distance every tutorial silently assumes. In practice it means a stranger reaching towards your chest, so treat it as a lab condition rather than a use case.
- Normal conversation100mm codeWhere a shirt code is actually scanned: someone standing in front of you, phone up, not touching you.
- Across a table or a stand200mm codeTrade show booth, market stall, gym floor. This is the size that makes a back print worth doing.
| What the code holds | Modules | 25cm away | 100cm away | 200cm away |
|---|---|---|---|---|
| Short link on your own domainversion 3, 19 characters | 37 | 25mm wide0.68mm per module | 100mm wide2.70mm per module | 200mm wide5.41mm per module |
| Instagram profileversion 4, 34 characters | 41 | 25mm wide0.61mm per module | 100mm wide2.44mm per module | 200mm wide4.88mm per module |
| Spotify playlistversion 6, 56 characters | 49 | 25mm wide0.51mm per module | 100mm wide2.04mm per module | 200mm wide4.08mm per module |
| Contact card with phone and emailversion 8, 89 characters | 57 | 25mm wide0.44mm per module | 100mm wide1.75mm per module | 200mm wide3.51mm per module |
The same codes at the 20mm everybody recommends
- Short link on your own domain0.54mmper moduleClears the paper floor
- Instagram profile0.49mmper moduleOn the paper floor
- Spotify playlist0.41mmper moduleOn the paper floor
- Contact card with phone and email0.35mmper moduleBelow the paper floor
Those are the numbers behind the advice, graded against the 0.4mm per module this site assumes for close-range paper. A 20mm square just about holds a short link if somebody puts a phone against your chest. A contact card in the same square lands under that floor before fabric has done anything to it.
Read the last block against the table above it. At 20mm a short link still has half a millimetre per module, which is why the folk advice survives: it works for the simplest possible payload at the shortest possible distance. Put a contact card in the same square and each module drops to about a third of a millimetre, below what this site treats as the floor for clean paper, never mind jersey.
The other thing that falls out of the table: at conversation distance your modules are around 2mm across. That is enormous by printing standards, which means print resolution is almost never what breaks a shirt code. Distance and contrast are, and both of those we can measure. Movement is the third candidate and the one we cannot put a number on, for the reasons in the untested section. If you want the full arithmetic for any code rather than these four, the print size guide works the width back from module count.
Where the Fabric Moves Is Where It Fails
Here is the advice everyone gives that does not help: use error correction level H. Use it, by all means, but understand what it buys. Error correction rebuilds modules that are missing or damaged. A shirt stretched across a chest is not missing modules, it is a grid pulled out of square, and no correction level fixes a bent coordinate system.
Which makes placement the setting that matters. And the reason corners matter most is measurable, though not on fabric. When we damaged codes on clean screen renders, a scuff over 15% of the width on a finder pattern killed the read, while the same damage spread along an edge survived at 30%. Those three big squares in the corners are how a decoder locates the symbol at all. Cloth pulls hardest at corners too, so the transfer from our test to your shirt is reasoning rather than measurement, and the conclusion it points at is placement.
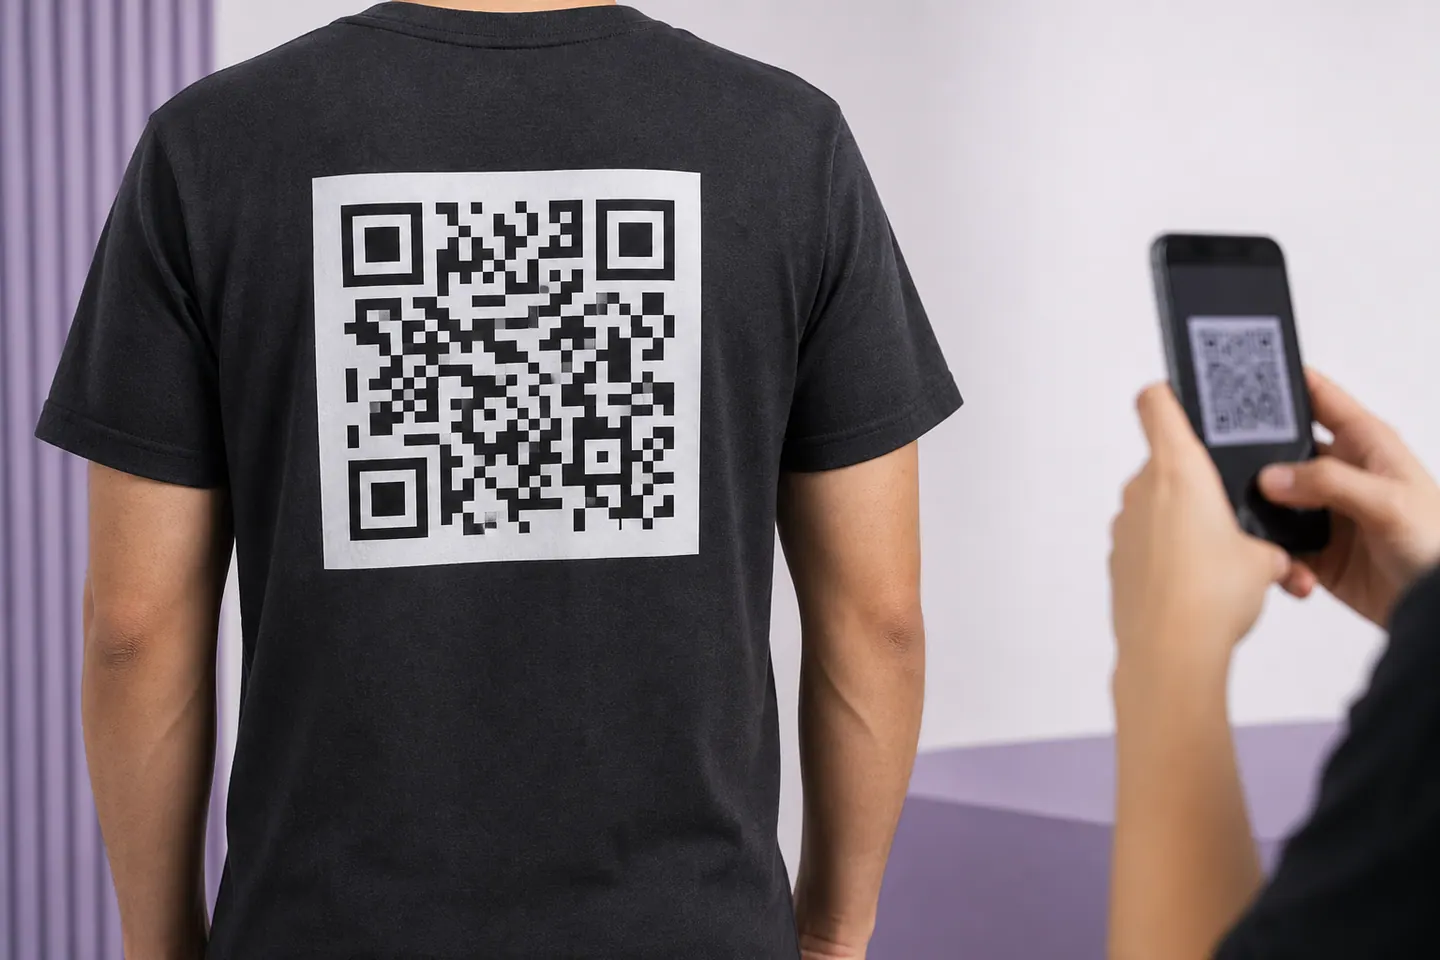
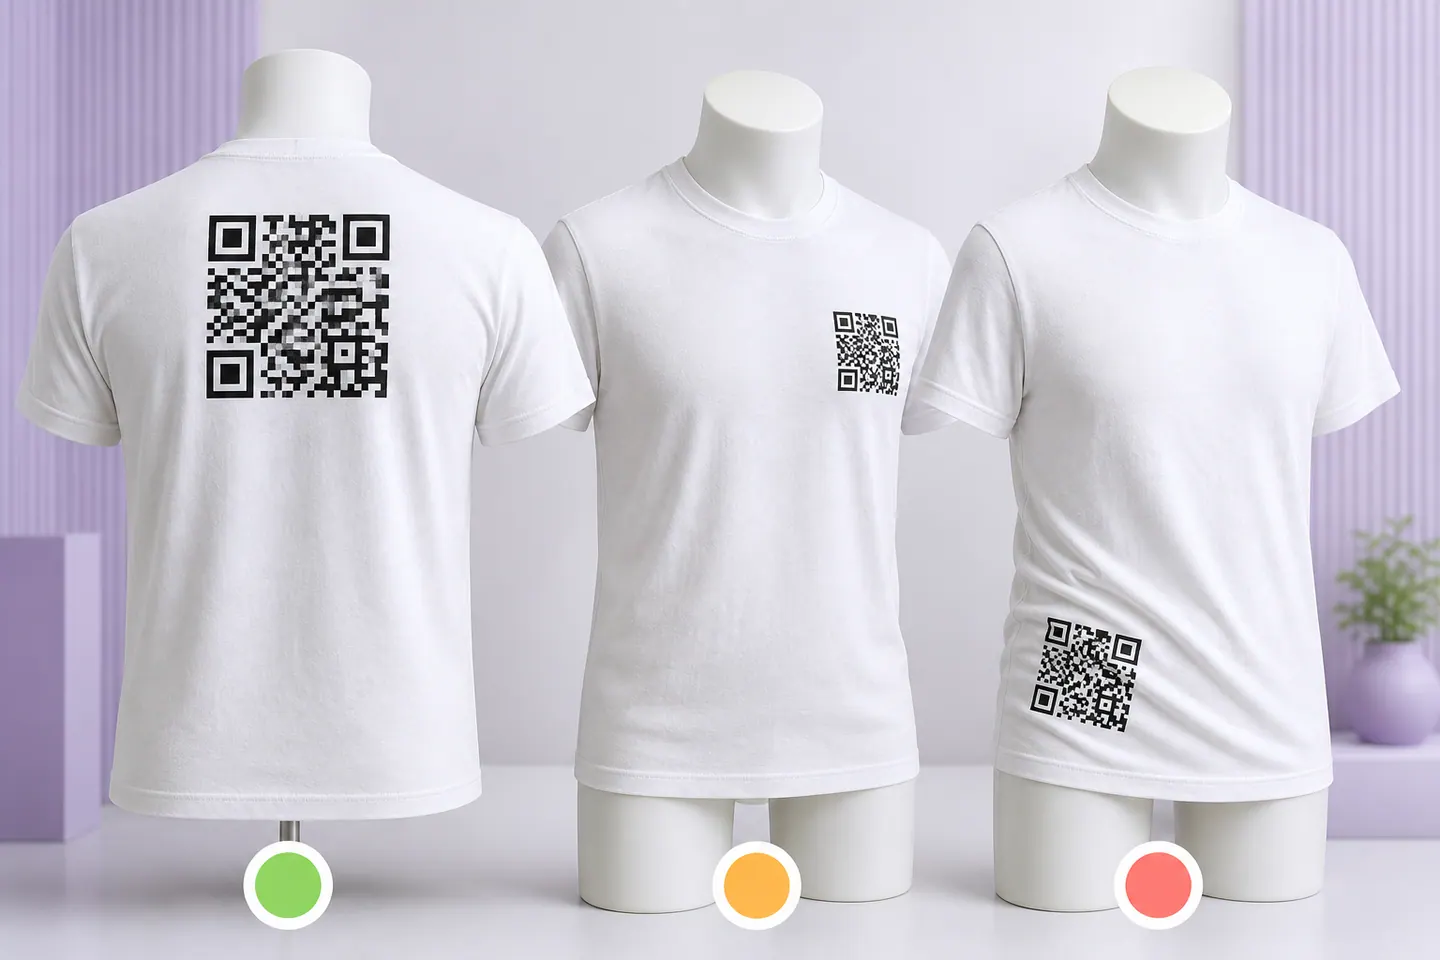
So the recommendation that falls out of all this is the upper back. It is the flattest panel, it distorts least when the wearer moves, and it is the only placement that takes a 100mm square without looking like a novelty print. The left-chest pocket position is the one people ask for, and it is the one that quietly forces the code down to 60 or 70mm, which the table above already tells you is not enough at conversation distance.
Dark Shirts Are the Second Trap
A black shirt is the second most common way this goes wrong. Printing the code in white on dark fabric inverts it: light modules on a dark background. Our own decoder tries both polarities, which is why an inverted code still passes the download gate here, and that is exactly why the editor warns you anyway. Inversion support is a per-scanner decision rather than part of the format, so a code that works on your phone can be refused outright by a fixed reader at a till.
The fix is boring and reliable: print a light panel and put a dark code on it. You lose the all-over black look and you gain a code that works for everybody. If the garment has to stay dark and you insist on white modules, test it on the cheapest Android phone you can find rather than on your own.
Contrast is also the failure mode with the least slack of any on this page. On a clean render our decoder read a grey code at 4.00:1 and failed the same code at 3.90:1, so the practical floor is 4.5:1 and anything printed should sit comfortably above it. The contrast cliff we measured has the full ladder, including what a real brand colour does.
What to Encode, and Why Shorter Wins Twice
Shortening what you encode pays twice on a garment. Fewer characters means a lower symbol version, which means fewer and therefore larger modules at the same printed width. Larger modules survive both a longer scan distance and more distortion.
Look at the spread in the table: a short link on your own domain is 37 modules across, and a contact card with a phone number and an email is 57. At the same 100mm that is 2.70mm per module against 1.75mm, a third smaller for the same shirt. If you want the contact-card behaviour without the density, encode a short link that opens a hosted card. Our vCard generator makes a contact card people can save, and it will tell you what the payload costs before you print it.
A logo in the middle is fine at these sizes, which is not something you can say about a business card. At 100mm wide you have room for a mark without pushing past what error correction can rebuild, and the logo tool caps the covered area rather than letting you drag it until the code silently breaks.
The Shirt Outlives the Campaign
Merch is the one product category where I would argue for a dynamic code without much hesitation, and I do not say that often.
The reason is simple. A printed menu gets reprinted next season. A shirt does not: somebody else owns it, they are wearing it, and you have no way to reach them. If the campaign page, the playlist or the booking link moves, a static code on forty shirts is forty dead links walking around.
Two ways out. Encode a short URL on a domain you control and put a server-side redirect behind it, which keeps the code static and the destination editable. Or use a destination you can change after printing. The trade-offs between the two, including what the redirect costs you in symbol density, are worked through in static and dynamic codes compared.
What We Have Not Tested
Everything above comes from arithmetic, from the spec, or from tests run against this site’s own encoder and decoder. The five things below do not, because they need a printed shirt and a washing machine, and we have neither. Every competing article states all five as fact.
- Not tested hereHow much ink spread jersey adds
- Ink wicks along yarn, so module edges grow. Growth eats the gap between modules and the quiet zone, both of which the spec fixes in module widths rather than millimetres.How to settle it: Print the same code by DTG and by screen print on the same shirt, then measure a module with callipers against the file.
- Not tested hereWhether a module smaller than the stitch pitch survives
- Knit is not a smooth sheet. Below some size a module falls between stitches and prints ragged or not at all. Our sizing table keeps modules around 2mm, which is far above any plausible stitch pitch, so this is an argument for not shrinking the code rather than a number we can give you.How to settle it: Print one code at 100mm and one at 40mm on the same jersey and compare module edges under a loupe.
- Not tested hereHow many washes a printed code survives
- Vinyl cracks, DTG fades, sublimation holds. All three lose contrast rather than losing modules, and contrast is the failure mode with the least slack: our decoder read a grey code at 4.00:1 and failed at 3.90:1.How to settle it: Scan after 10, 25 and 50 cold washes, one shirt per method, recording the contrast ratio each time.
- Not tested hereWhether a code stretched over a chest still scans
- Stretch is geometric distortion. Error correction handles missing modules, not a grid pulled out of square, and the finder patterns that tell a decoder where the symbol is sit in the corners that pull hardest.How to settle it: Same shirt on a small and a large wearer, scanned from a metre, on two phones.
- Not tested hereHow much a glossy transfer glares under a phone flash
- Vinyl and some DTG finishes are glossy, and a flash at close range can wash out a band of modules. The spec's test conditions assume diffuse light.How to settle it: Scan a vinyl and a DTG version under a flash, in daylight, and under warm indoor light.
If you are about to order a batch, you are better placed to answer these than we are. One sample shirt, ten washes and a phone would turn all five into numbers.
Printing Methods, Briefly
This is the section other guides make the centre of the article, and it matters less than they think. At 2mm per module every method below has resolution to spare. Pick on fabric, durability and cost instead.
| Method | Fabric | What it means for the code |
|---|---|---|
| DTG, direct to garment | Cotton and cotton-rich blends | Ink sits in the fibres, so edges are soft but the geometry is right. The default for one-off and small runs. |
| Screen printing | Cotton, blends | Thick ink, hard edges, cheapest per unit above about fifty shirts. Registration is not a problem for a one-colour code. |
| Sublimation | Polyester only | Dye becomes part of the fibre, so it does not crack or peel. It also cannot print white, which decides the dark-shirt question for you. |
| Vinyl or heat transfer | Most fabrics | Sharpest edges of the four and the easiest to do at home. Glossy, so worth checking under a flash, and it is the one that cracks with age. |
| Embroidery | Anything with a stable weave | The wrong tool. Stitch resolution cannot hold a 2mm module cleanly, and thread sheen ruins contrast. If a code has to be embroidered, make it a logo and put the code on a label. |
Sending the File to a Print Service
Send a vector. An SVG is instructions for drawing the modules, so the print service can set it up at 100mm or 300mm and the edges stay exact. Keep it as the master file.
Plenty of print-on-demand services still want a raster upload, and that is where codes die. Work back from the printed size: 100mm at 300dpi is about 1,180 pixels square, so upload that or larger and never a screenshot. We measured what resizing costs, and a version 7 symbol stopped decoding below 90 pixels wide. A shirt design that has been screenshotted, pasted into a slide and dragged smaller has been through exactly that.
One more thing worth checking with heat transfer: some methods want the artwork mirrored on the carrier sheet. A mirrored QR code does not decode, because the finder patterns end up in the wrong arrangement. Ask the service, and scan the proof.
Test One Shirt Before You Order Fifty
Three minutes, and it is the step that separates a shirt that works from forty that do not.
- 1Print one, on the fabric and by the method you are actually ordering. A paper proof tells you nothing about jersey.
- 2Put it on a person. Not flat on a table, on a body, because that is where the curve and the stretch live.
- 3Scan from a metre, then from two, with the oldest phone in the room rather than yours.
- 4Turn towards a window, then away from it. Glare on a glossy transfer is a real failure mode and it only shows up in the wrong light.
- 5Wash it once and scan it again. If the contrast has visibly dropped after one wash, it will fail after twenty.
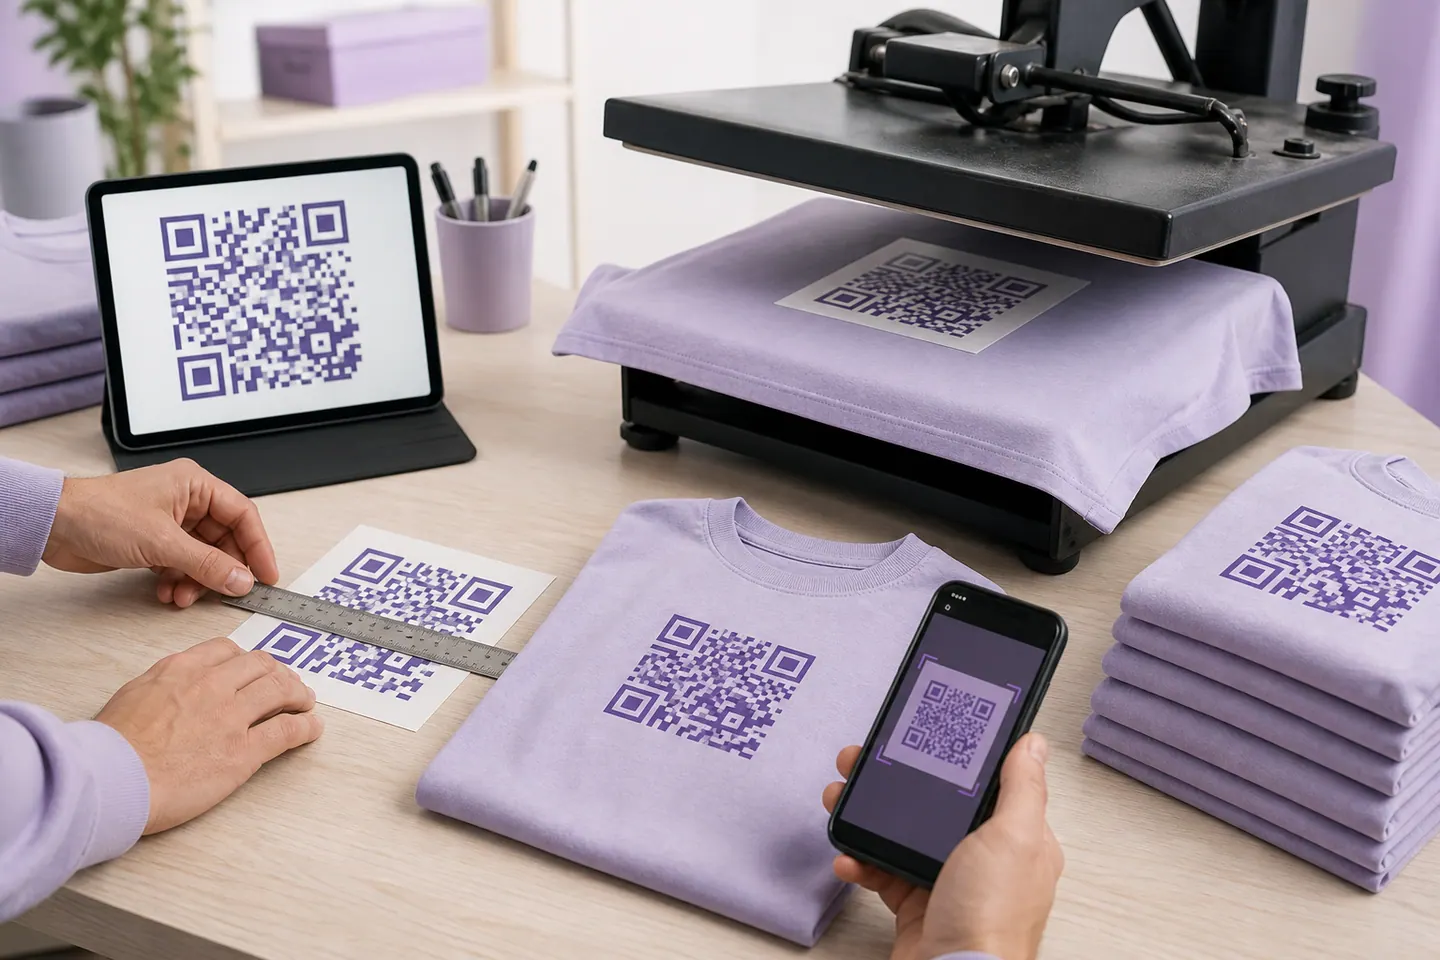
Software checks help but they are not this. Every code this site generates is decoded before the download unlocks, which proves the image is readable. Only a camera pointed at a real shirt in real light proves the shirt is.
Six Ideas Worth Stealing
Six that earn their place, each with the payload it needs. The pattern worth noticing: the good ones point at something that outlives the print, and most of them want a short link rather than a long one.
- Conference staff shirts that hand over a contact cardA vCard, and a back print rather than a chest one so it reads across a booth.
- Band merch pointing at a playlistA short link on your own domain that redirects to the playlist, so the shirt survives you changing platform.
- Fundraiser shirts with a donation pageA dynamic code, because the campaign page will move and the shirts will not.
- Guest Wi-Fi on a cafe staff shirtWi-Fi credentials. The one payload that finishes its job with no connection at all.
- Reunion or wedding shirts linking to a shared photo albumA short link, because album URLs are long and ugly.
- The joke shirtAnything, but make it 100mm and put it on the back. A joke nobody can scan is not a joke.
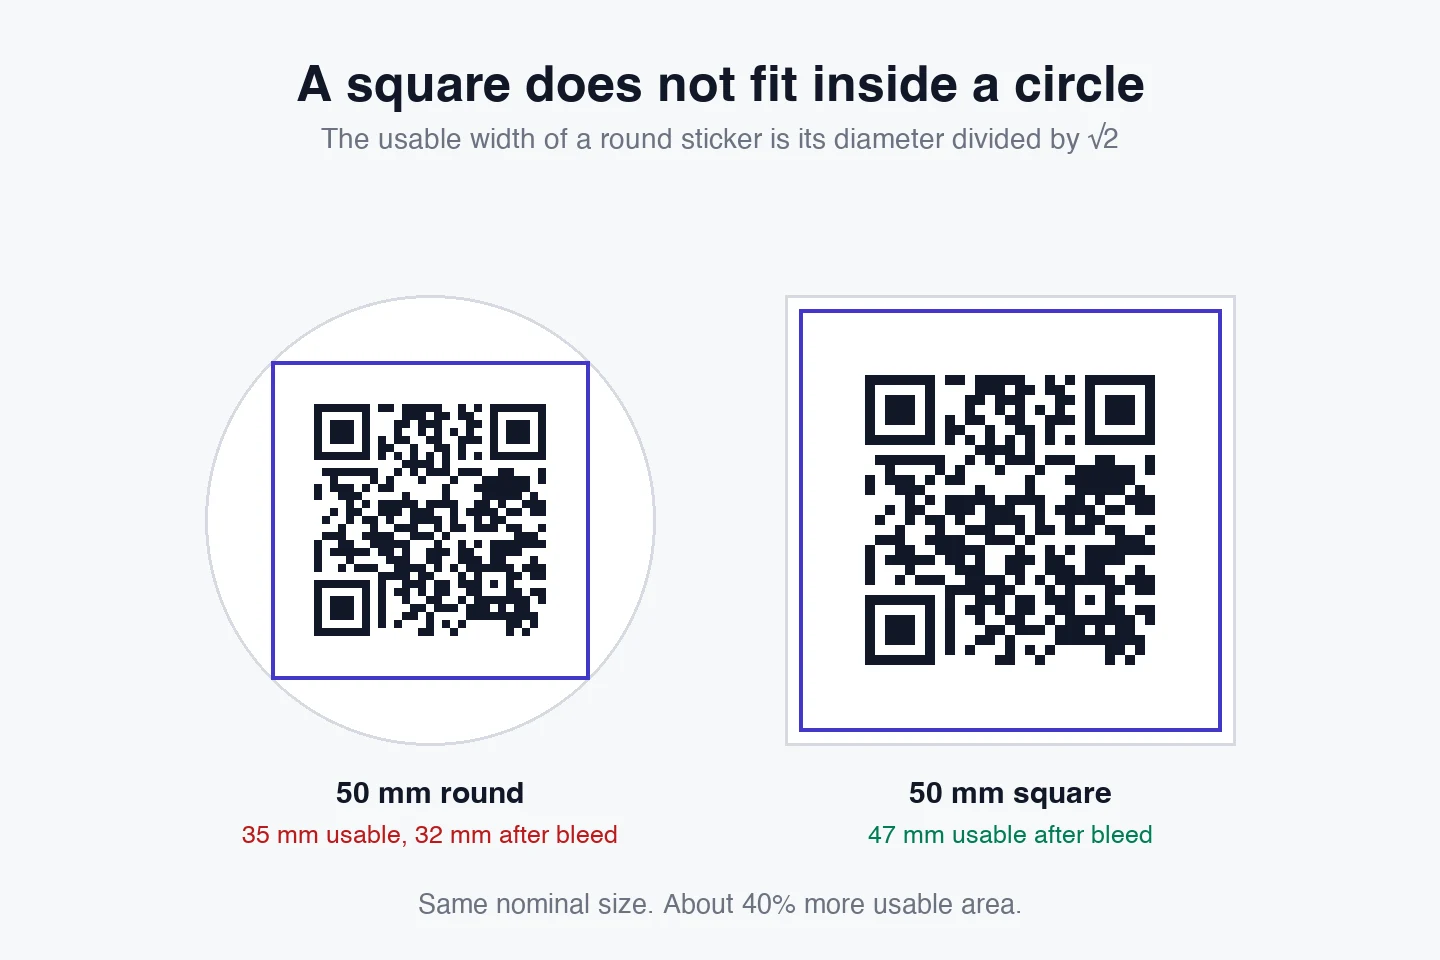
Fabric is the hardest surface a code gets printed on. If yours is going on vinyl or paper instead, the sizing is different and kinder: QR code sticker size works through the round-die-cut problem that catches people out there.
Common Questions
Can you put a QR code on a shirt?
Yes, and it works about as well as printing one on paper as long as the size is right. The symbol does not care what it is printed on, and every mainstream printing method holds the geometry fine. What changes on fabric is the size you need, because a shirt is read from further away than a flyer, and the surface moves.
What size should a QR code be on a shirt?
Work from scan distance, not from a fixed number. The rule of thumb is a code roughly a tenth as wide as the distance it is read from, so a chest print scanned in conversation at about a metre wants around 100mm across. The 25mm figure most tutorials quote is the arm's-length number, which is why those codes read in a photo and fail on a person.
Do QR codes work on fabric?
They do, with two caveats we can measure and three we cannot. Measurable: keep the four-module quiet zone, and keep contrast above 4.5:1, because our decoder read a grey code at 4.00:1 and failed the same code at 3.90:1. Unmeasured by us: ink spread on jersey, wash durability, and stretch across a worn body. We have not printed a shirt, so we say so rather than guessing.
Will a QR code shirt still scan after washing?
We have not tested it, and anyone who gives you a number for this without a wash test is inventing one. What the physics suggests is that all four printing methods lose contrast rather than losing modules, and contrast is the failure mode with the least slack. Print a spare, wash it ten times, and scan it before you order fifty.
Can a QR code be embroidered on a shirt?
Technically yes, practically no. Embroidery cannot hold a 2mm module edge cleanly, and thread has a sheen that undercuts the contrast a scanner needs. Embroider the logo and put the code on a printed label or a sleeve patch instead.
Can I change where a shirt's QR code points later?
Only if you planned for it. A static code carries the destination inside the pattern, so changing it means new shirts, and people already own the old ones. Encode a short URL on a domain you control, or use a dynamic code, and you can repoint it afterwards. This is the one product category where that decision is close to irreversible.
Should I send my printer an SVG or a PNG?
SVG, always, because a vector holds its module edges at whatever size the printer sets up. If the print service only accepts raster, work back from the print size: 100mm at 300dpi is about 1,180 pixels, and never upload a screenshot. Resizing is what destroys codes, and we measured a version 7 symbol failing below 90 pixels wide.
Why does my shirt code scan up close but not across the room?
Because the code is sized for the wrong distance. Scanning depends on how many pixels of camera sensor land on each module, so doubling the distance halves that. A code that reads at 30cm and fails at a metre is not defective, it is small. Make it wider or accept that people have to come closer.
Make the Code, Then Size It for the Room
Generate it here, export the SVG, and hand the vector to your print service. The editor shows the module count and the minimum width for the exact code you made.
Open the generatorKeep reading
All guides- Comparisons
Static vs Dynamic QR Codes
What the redirect actually buys you, measured on real encoded codes, and which payloads are worse off for it.
16 min read - Printing
QR Code Sticker Size: The Circle Costs You 30%
The usable square inside a round sticker is 70% of its diameter. Measured minimum sizes for real links, against every common sticker size.
8 min read - Reference
Offline QR Code Generators for Every Device
What each platform already ships, the measured cost of each payload type, and how to check an offline claim yourself.
26 min read